
Naziv vsebine


CYANOTYPE Printing set A + B 250 ml + 250 ml

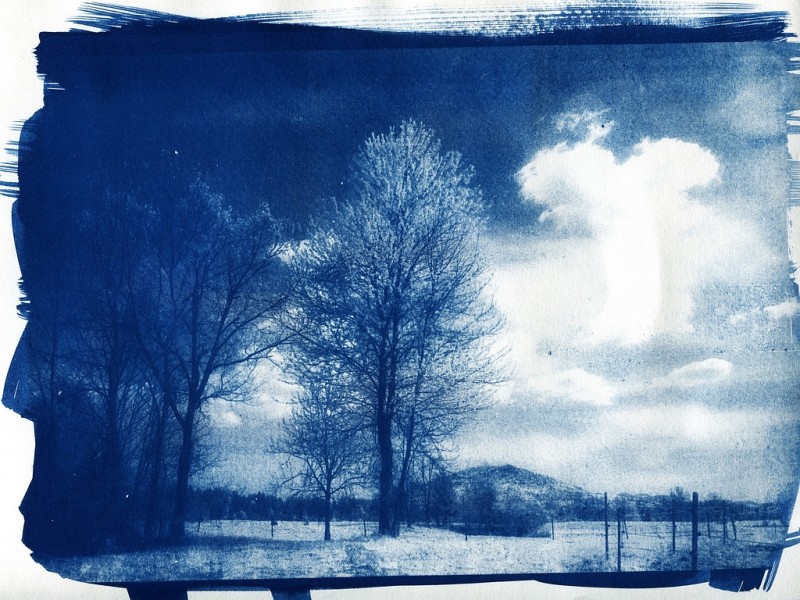
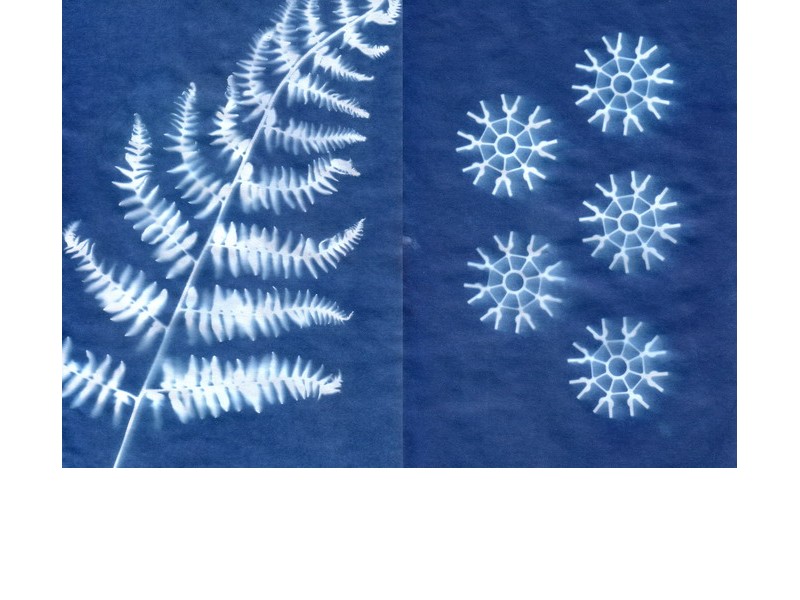
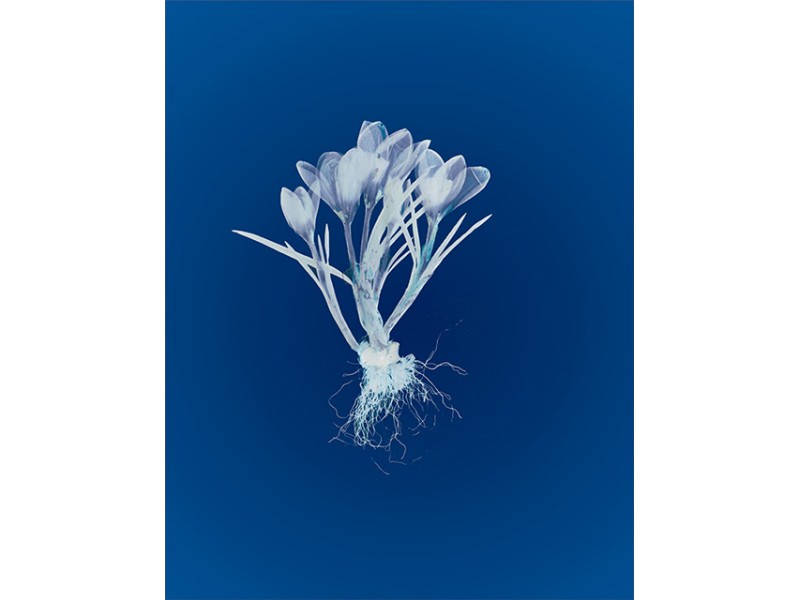
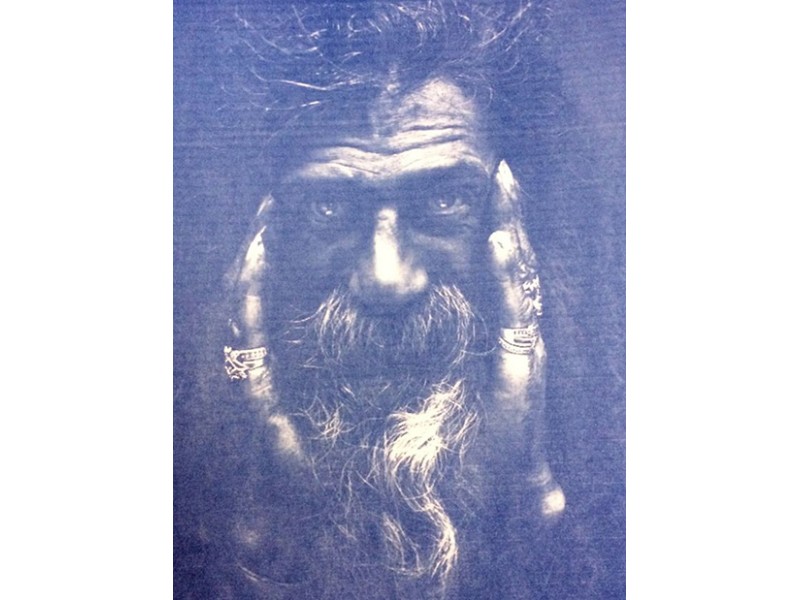
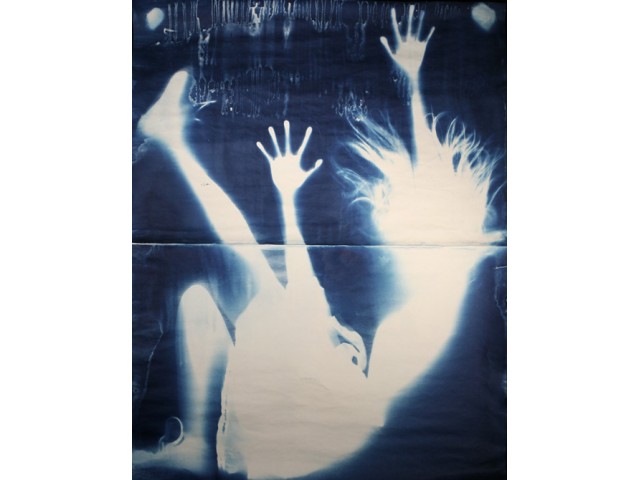
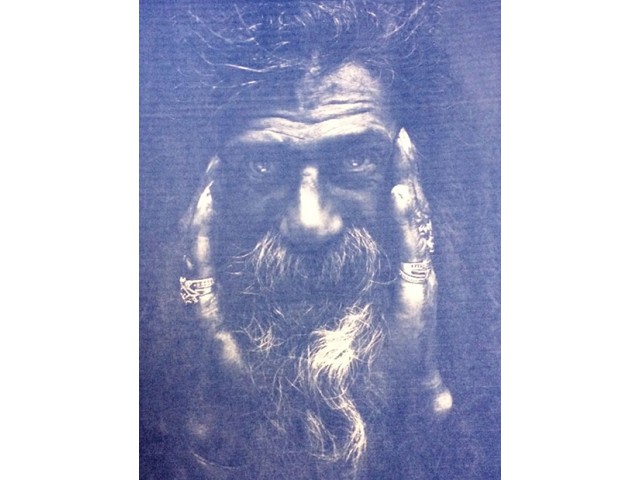
CYANOTYPE PRINTING
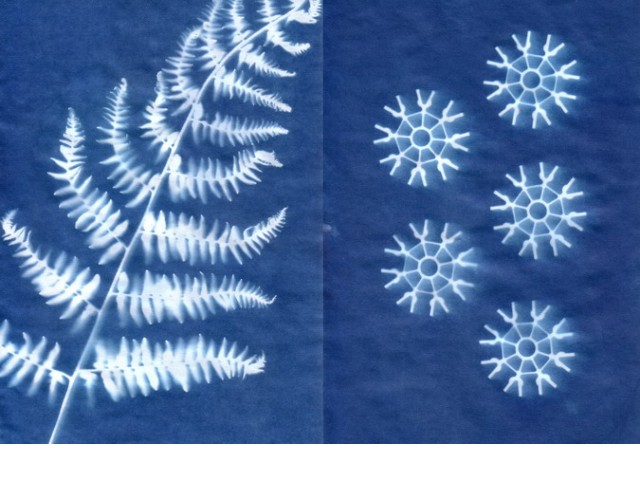
The English scientist and astronomer Sir John Herschel discovered the procedure in 1842. Though the process was developed by Herschel, he considered it as mainly a means of reproducing notes and diagrams, as in blueprints. It was Anna Atkins who brought this to photography. She created a limited series of cyanotype books that documented ferns and other plant life from her extensive seaweed collection. Atkins placed specimens directly onto coated paper, allowing the action of light to create a silhouette effect.
CYANOTYPE PROCESS
Important: Phases 1 to 4 are made in a dark room with no direct sunlight or any other UV source.
1. Mix components A and B in a 1:1 ratio by volume (4 + 4 ml is enough for one A4 paper).
2. Using a soft brush without metal particles simply paint the chemicals onto the material. Paper, card, textiles or any natural material can be used to print on. Decide how big your print is going to be, and cut your material to size. Make sure your working area is dimly lit, or lit with a low-level tungsten bulb.
3. Once the material is coated, leave it to dry in the dark.
4. Print a cyanotype by placing your negative (to reproduce a photograph) or object (to make a photogram) in contact with your coated paper or fabric. Sandwich it with a piece of glass if necessary.
5. Expose the sandwich to UV light. Natural sunlight is the traditional light source, but UV lamps can also be used. Exposure times can vary from a few minutes to several hours, depending on how strong your lightsource is or the season where you are printing. On a sunny day 5-15 minutes is enough.
6. When the print has been exposed, process your print by rinsing it in cold water. The wash also removes any unexposed chemicals. Wash for at least 5 minutes, until all chemicals are removed and the water runs clear. The final print can now be hung to dry and be admired.
